Christmas is just around the corner and the kiddies are all catching up at our place for a Christmas party next week. It's actually the mums that are catching up... the kids are just lucky we bring them along!! Haha, just kidding. We did the same thing last Christmas (seems like years ago) when the bubs weren't even walking yet. They all sat in a row with their cute little outfits on. This year, we'll be struggling to get them to sit together in one spot - and I think we're all just gonna stick them in Christmas t-shirts because they'll spend most of the time paddling in the little pool with no pants on! So cute!!
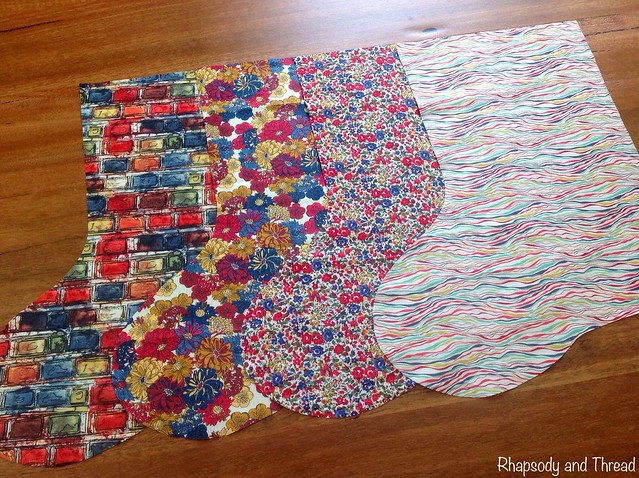
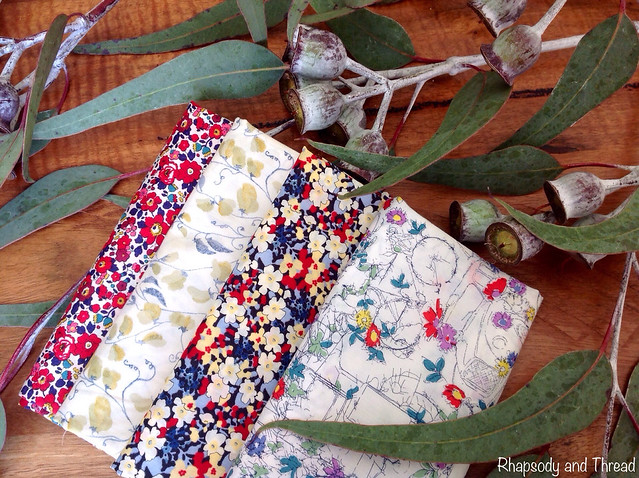
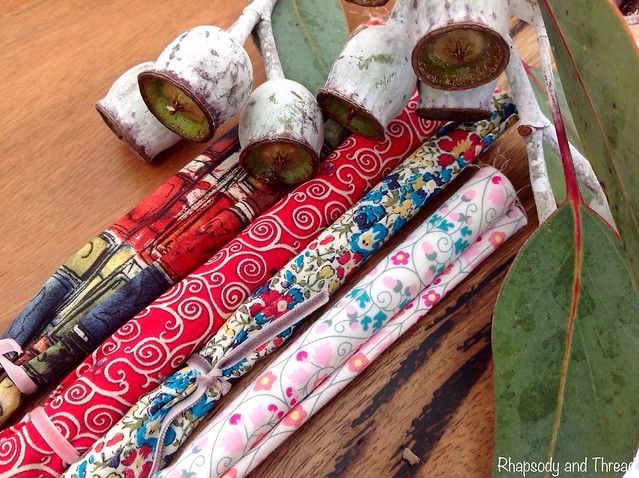
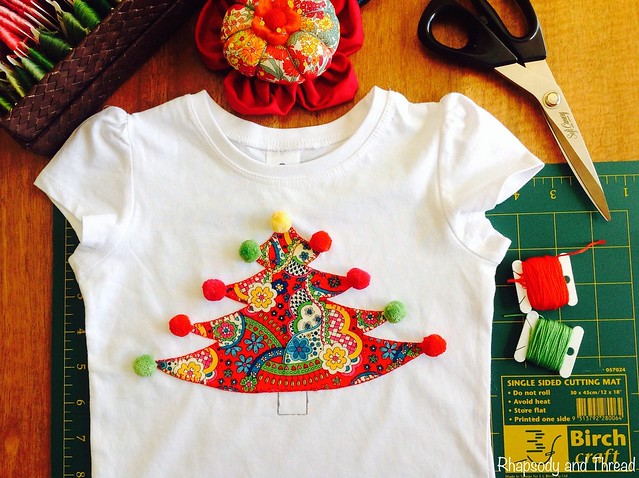
So, I bought plain white t-shirts for my two rugrats and thought I'd jazz them up myself with something Christmassy. They were only $3 at Target (bargain!!) and I found the perfect Liberty of London fabric in bright red with green/blue/pink/yellow patterns. It looks kind of Alice-in-Wonderlandish and is part of the Liberty Lifestyle - Bloomsbury Gardens Collection. The name is Virginia and the colourway is "Rich Red Blue". I think mum actually bought it at Purl Soho in New York a couple of years ago, with the hopes of making a dress for Isla... but it kept getting pushed to the back of the line - I think because it always looked so Christmassy to me. And so now I have the perfect job for it!
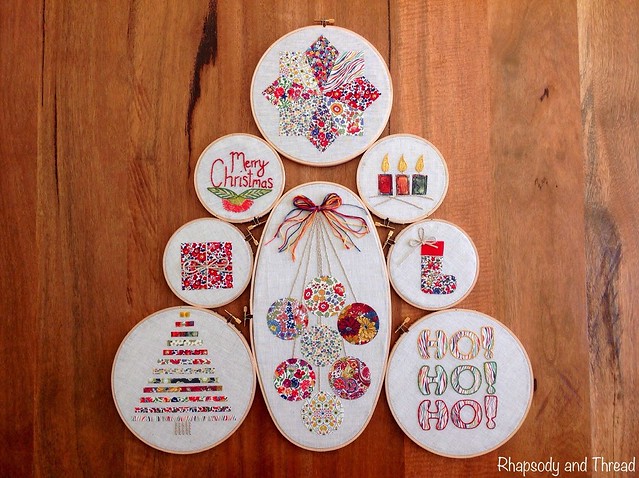
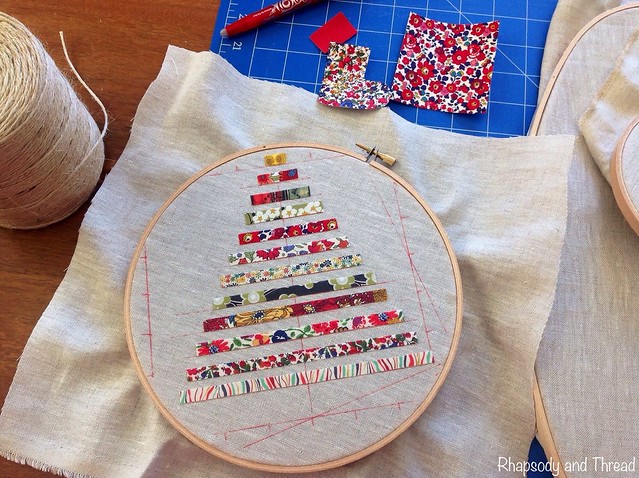
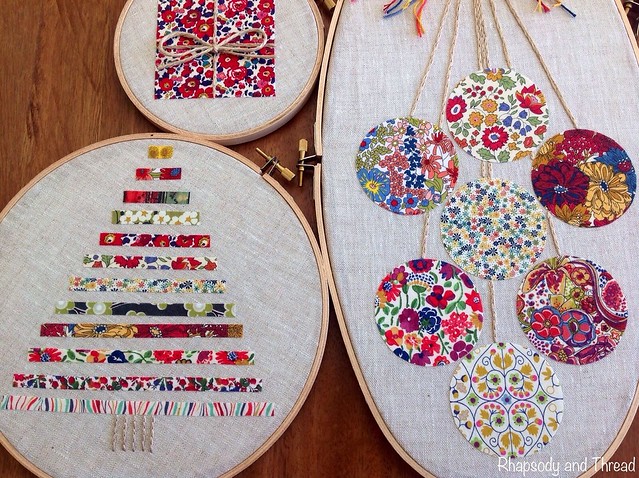
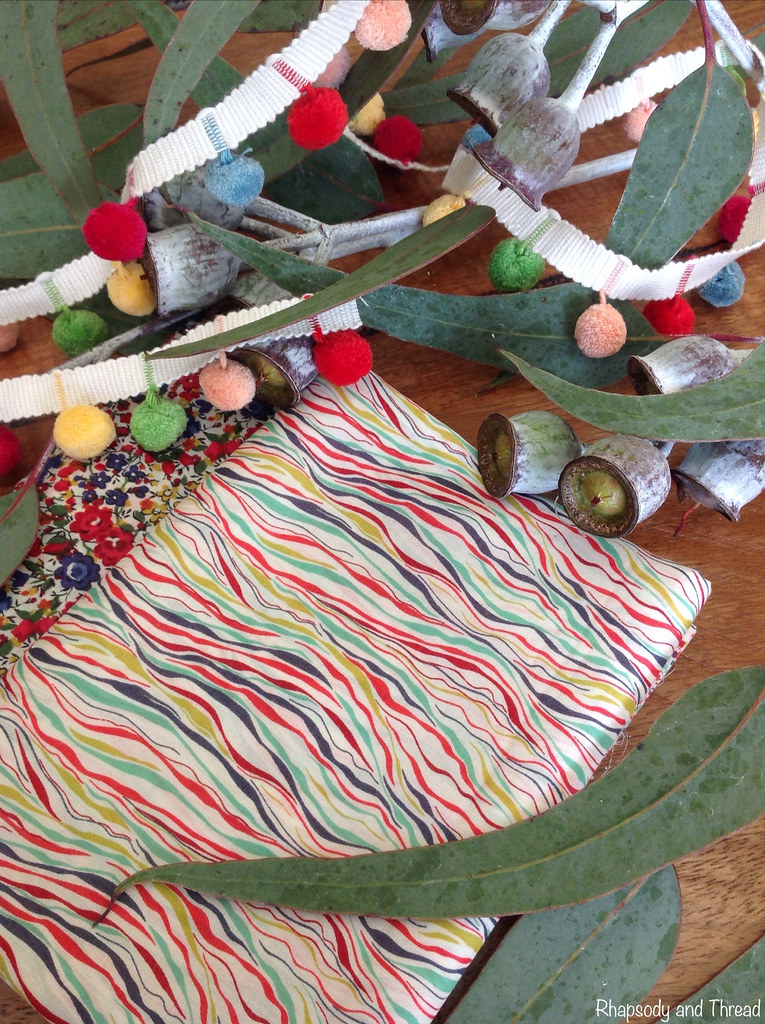
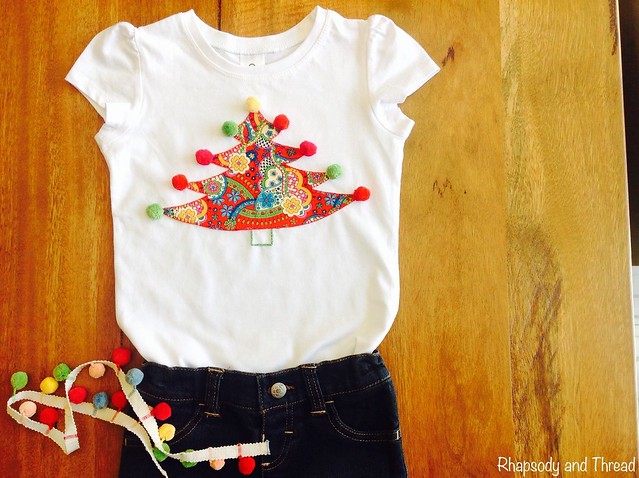
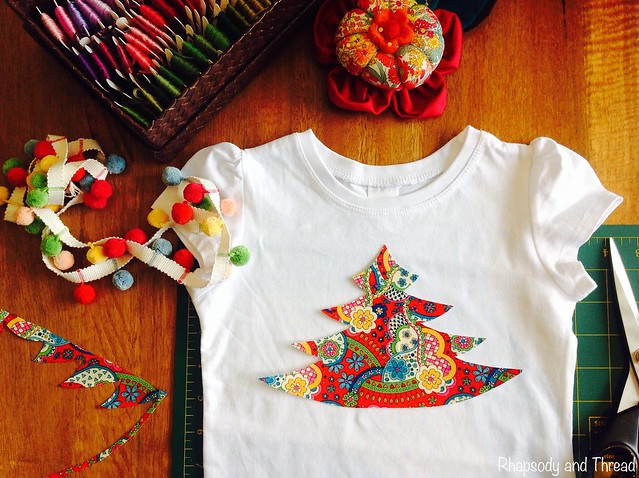
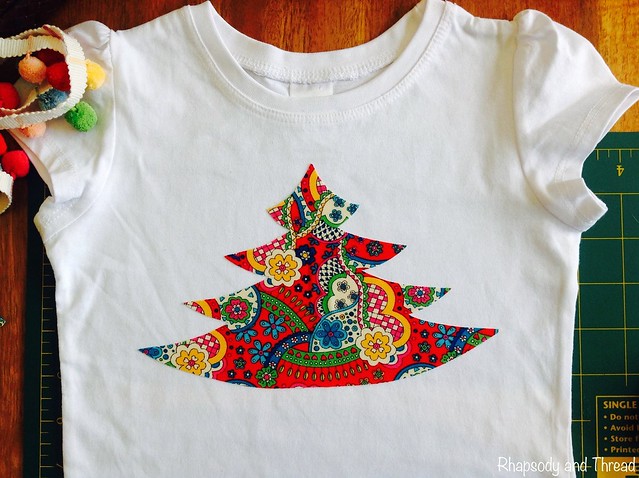
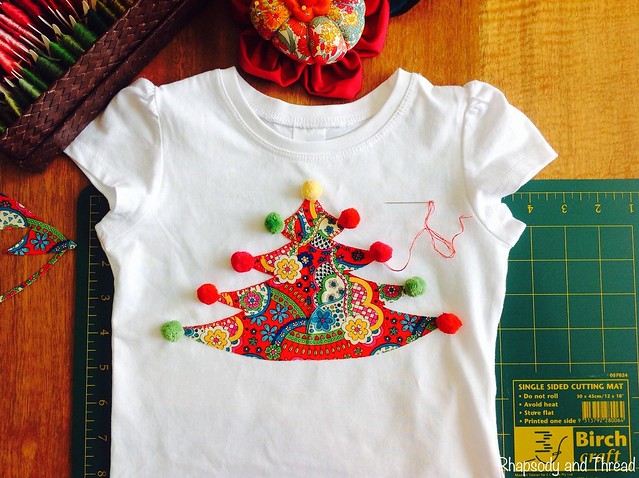
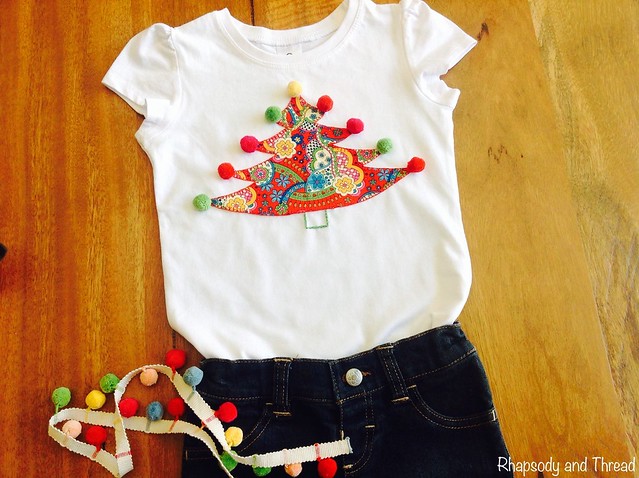
I decided on a Christmas tree for Isla's t-shirt because I really wanted to use the pom-poms I got at Calico & Ivy recently. The colours match perfectly and pom-poms are so girly (in my opinion :o). I made up a template to match her size 3 t-shirt and got busy. Here's the tutorial.
~o~o~o~o~o~o~o~o~o~o~o~o~o~o~o~o~o~
T-Shirt Tutorial --> Christmas Tree
Appliqué In 10 Easy Steps
~o~o~o~o~o~o~o~o~o~o~o~o~o~o~o~o~o~
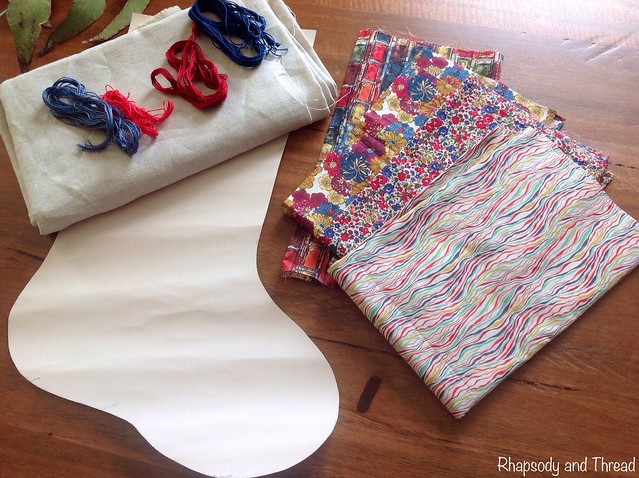
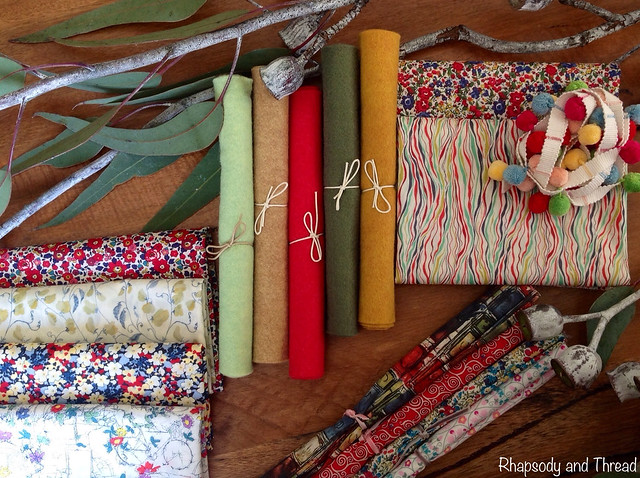
You Will Need
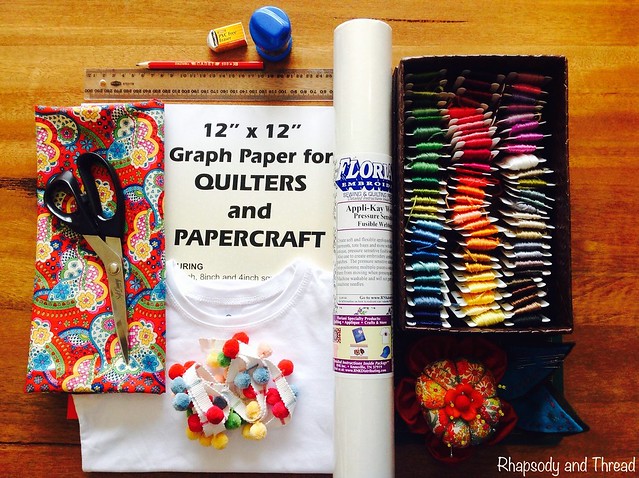
T-Shirt
Fabric
Pom-poms
Fusible webbing
Graph paper (or a pattern/template)*
Drawing tools --> pencil, eraser, sharpener, ruler, pen, marker
Cutting tools --> sharp scissors, rotary cutter and cutting mat*
Sewing tools --> needle, embroidery thread, pins
Equipment --> Sewing machine*, iron and ironing board
* These items are not essential but would definitely make your job easier.
~o~o~o~o~o~o~o~o~o~o~o~o~o~o~o~o~o~
Step by Step Instructions
Step One --> Design Your Christmas Tree Template
1) First, put the t-shirt on your bub.
Important Warning --> make sure your child is clean and does not have spaghetti sauce on their face or hands - unless you bought a red t-shirt, in which case it wouldn't matter ;o).
2) Work out the approximate dimensions of your tree based on the free space on the front of the t-shirt.
Remember that the sides of the t-shirt will wrap around the body so you may lose sight of your tree if you make it too wide. And if you're like me and you like to tuck the t-shirt in (so much cuter), you wouldn't want to design a really tall tree and the bottom half be lost.
Using a ruler and Dora The Explorer as a distraction to get her to stand still - I worked out that the perfect space on Isla's t-shirt was 6"H x 8"W. I marked this outline on my graph paper to help me draw my tree. You can draw your tree free-hand or trace a template straight on to the fusible webbing if you have one?! I didn't have a template and I wanted my tree to be symmetrical - so I used graph paper. If you want to use graph paper too, here's a great way to get a symmetrical tree.
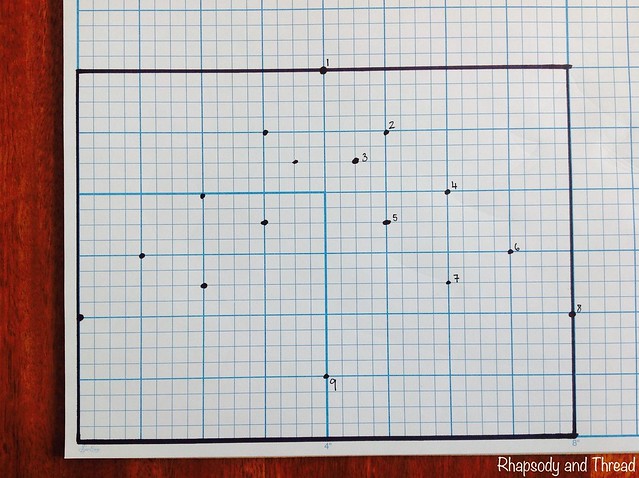
3) Draw an outline of the space you have to work with on graph paper.
4) Draw dots in the shape of a tree. These will become your outer tips of your branches.
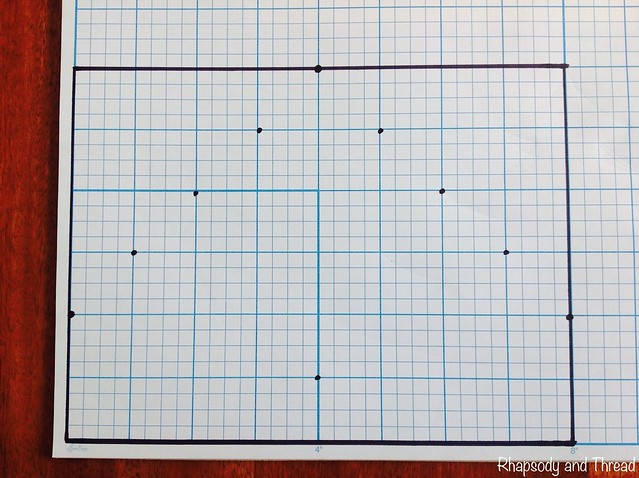
5) Draw dots back in towards the centre of the tree to create the outline of each branch.

6) Mark your numbers to follow like a dot-to-dot puzzle.
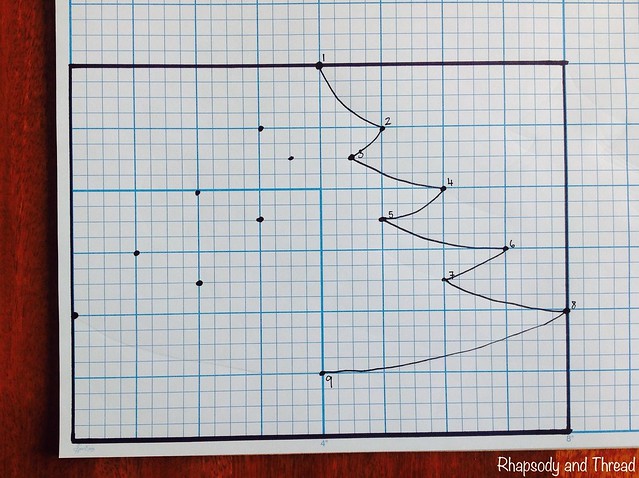
7) Connect the dots.
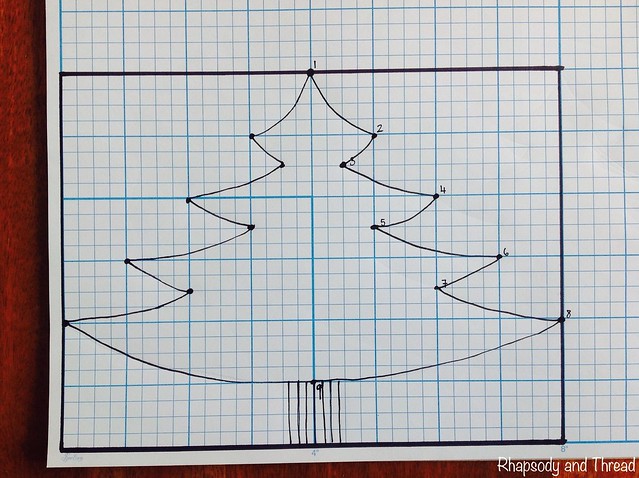
8) Copy the design on the other side to complete the tree. And there you have your template!
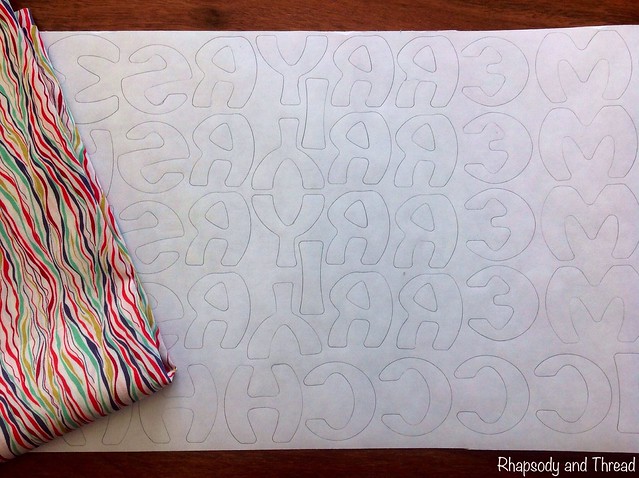
Step Two: Trace Your Christmas Tree Design On To The Fusible Webbing
1) Trace your design, making sure that you draw on the correct side of the webbing.

Step Three: Cut around the template, leaving a ¼" gap
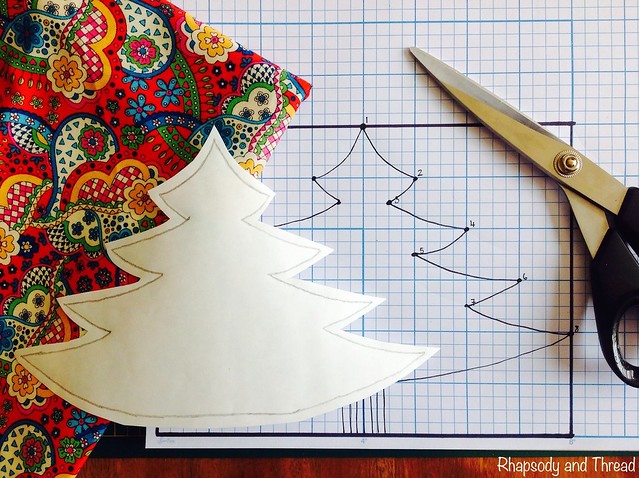
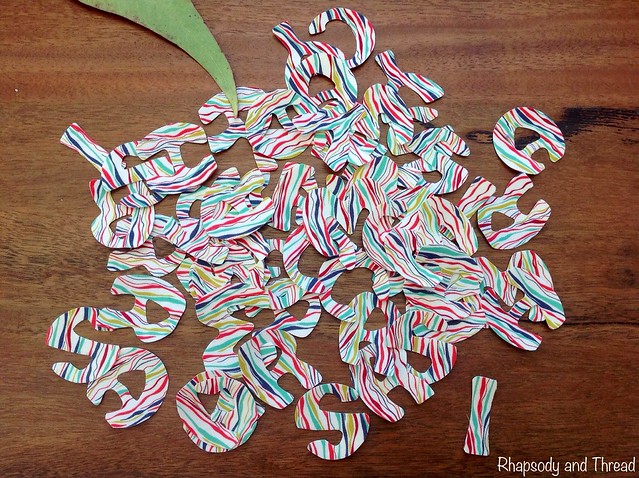
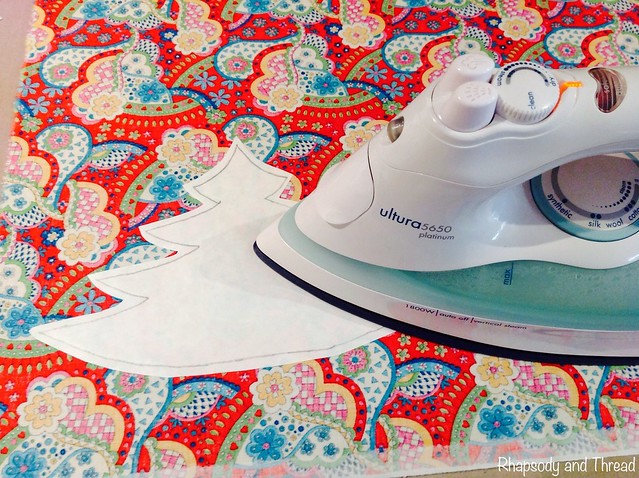
Step Four: Iron the template on to the reverse side of your fabric
Read the instructions specific to your fusible webbing for info on iron temperature etc.
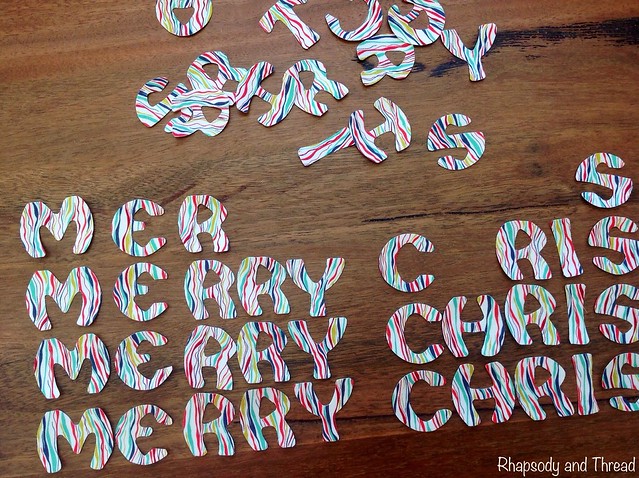
Step Five: Once cooled, cut the template out with sharp scissors and work out where you want to place it
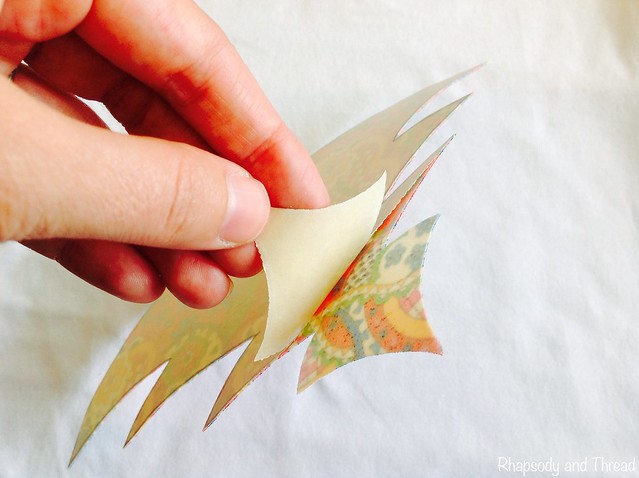
Step Six: Separate the paper backing from the fusible webbing
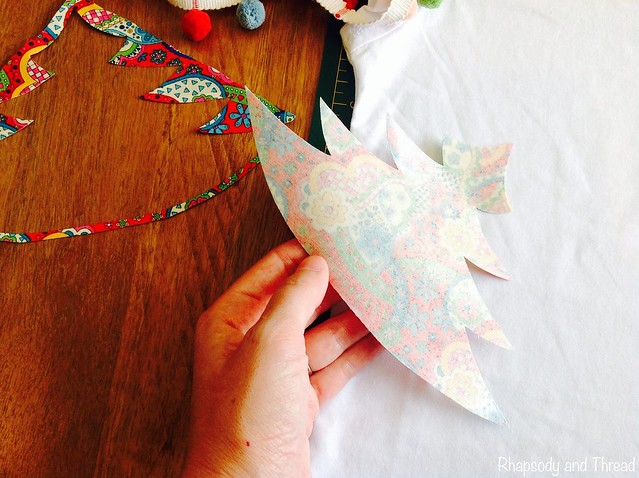
Step Seven: Stick it in position and iron it to secure it in place
Don't panic if it doesn't line up perfectly the first time - it's removable until it's ironed on to the t-shirt.
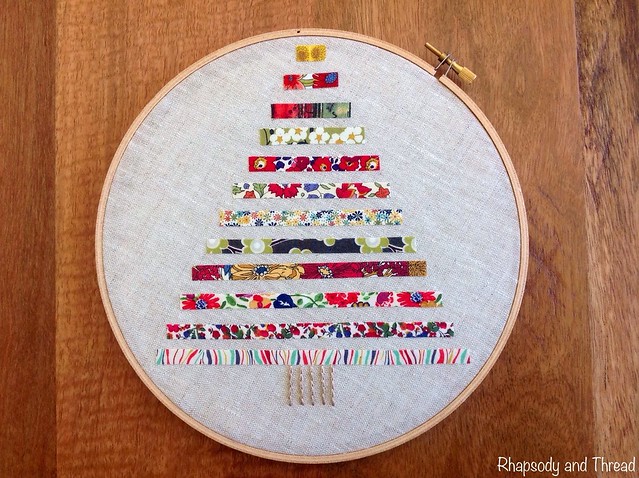
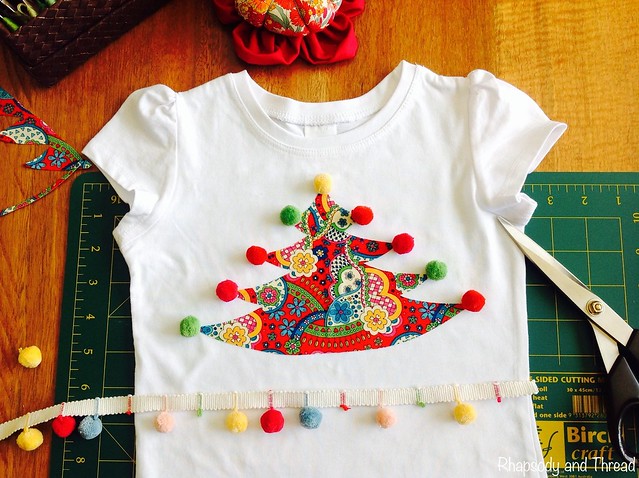
Step Eight: Attach The Pom-Poms
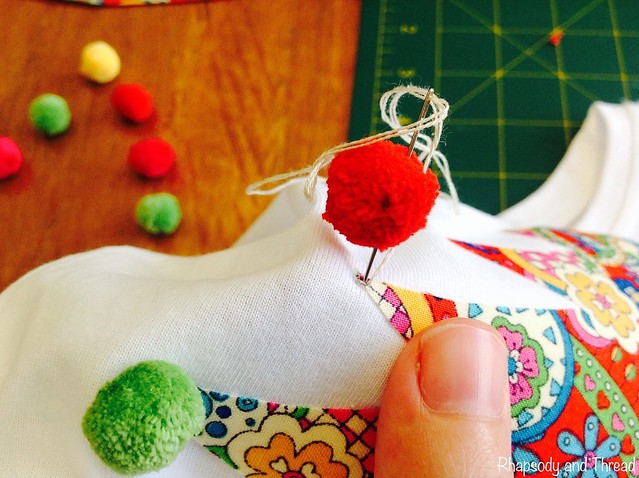
1) Pick your 9 pom-poms for the tips of the branches.
I cut mine from the pom-pom garland I bought at Calico & Ivy recently, but you can buy them individually. I picked a yellow pom for the top to represent a star and went with red, green, and pink for the rest.
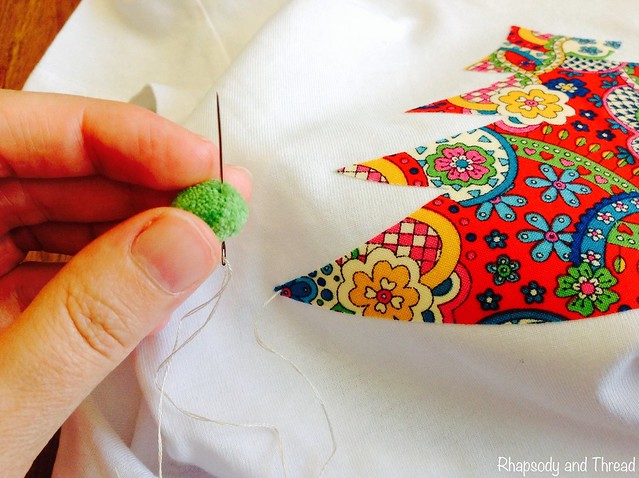
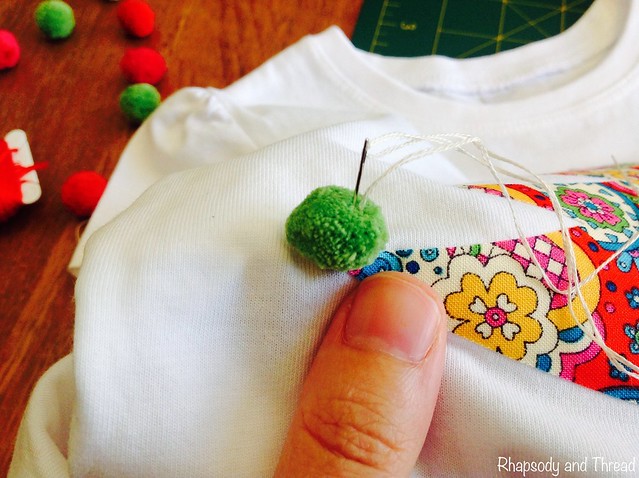
2) Thread a sharp needle and come up carefully through the tip of the branch, then through your pom-pom.
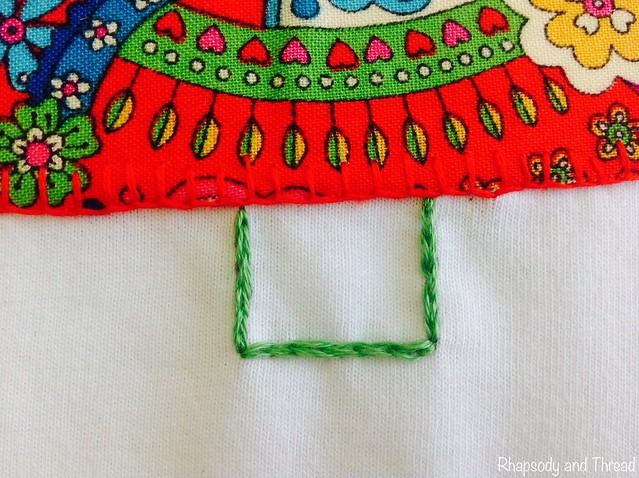
1. First, draw a template of your little tree stump. I used a magic pen - the ink disappears when ironed :o) ($4.50 at Carols of Midland!!), but you could use a regular pen as long as you cover the ink with your stitches (so you have to get your template perfect the first time).
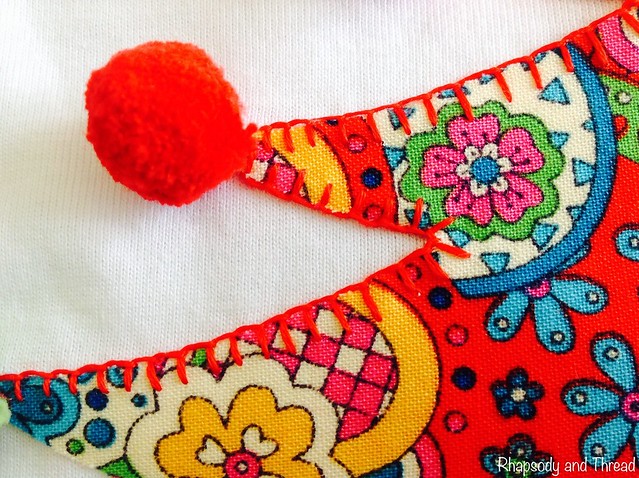
2. Thread your needle and split-stitch over the template. I used 4 threads so that the stitch would stand out. And you could use a simpler stitch like back-stitch if you like. It would look just as good. I prefer the textured look of split-stitch, that's why I use it almost all the time ;o).

Finito!
Happy Stitching xx