Carving pumpkins for Halloween is simple and fun, and takes no time at all! You don't need any fancy equipment or skills. Just a pumpkin, a sharp knife, and a great tutorial full of handy pictures!
So here you go!
Halloween Tutorial --> How To Carve A Pumpkin In 5 Easy Steps
=l=l=l=l=l=l=l=l=l=l=l=l=l=l=l=l=l=l=l=l=l=l=l=l=l=l=l=l=
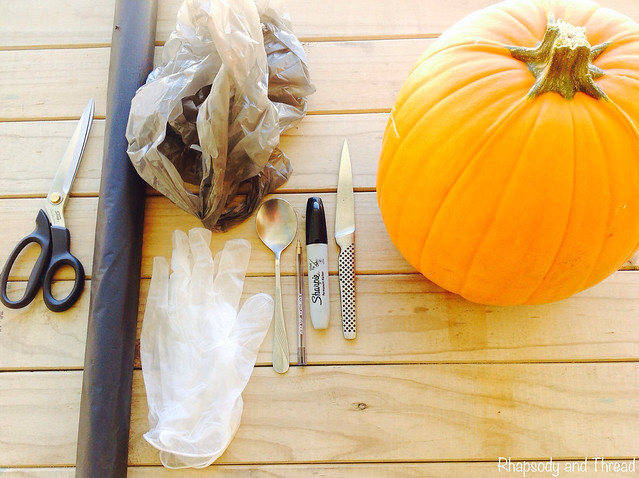
EQUIPMENT
> Halloween pumpkin> Sharp knife > Texta/Pen > Spoon > Disposable gloves > Rubbish bag > Plastic/disposable table cloth (newspaper would also work fine) > Scissors
* Pumpkins are made available just before Halloween that are perfect for carving. Not only are they prettier than the regular edible kind, they have a much thinner shell so it's easier to cut in to.
INSTRUCTIONS
STEP ONE: Set up your work station
I got a roll of black plastic from Spotlight years ago (in their party decor section) and it has been useful for so many different things - I'll even use it as a table cloth for the kiddies Halloween party table. Anyway, I cut a strip off to cover Isla's picnic table and got all my gadgets ready to get started.
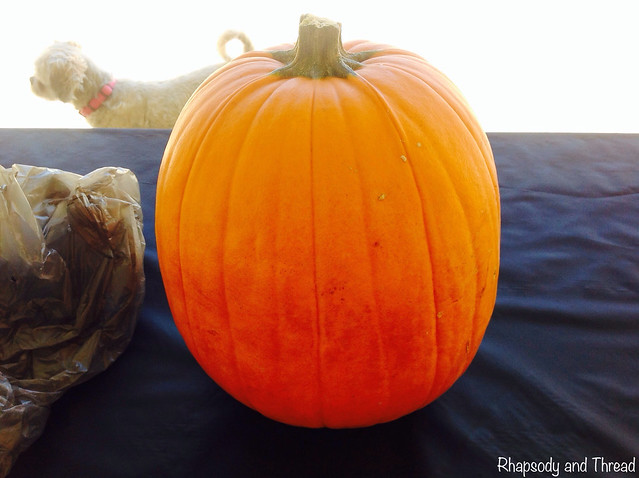 |
| A blank canvas! |
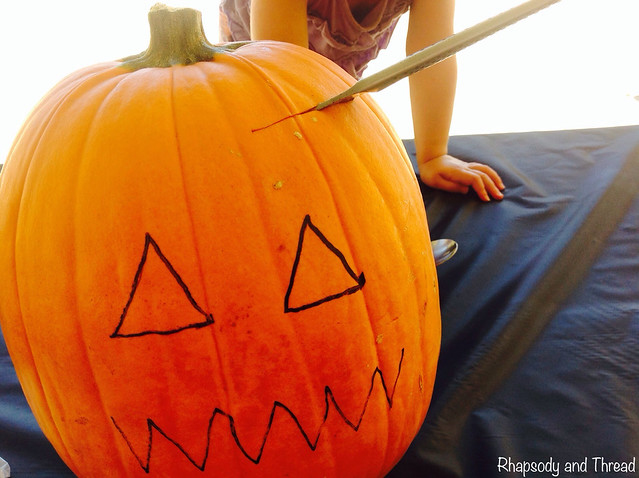
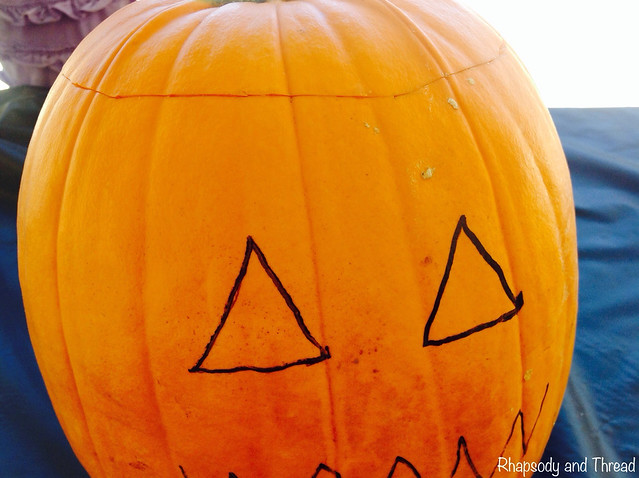
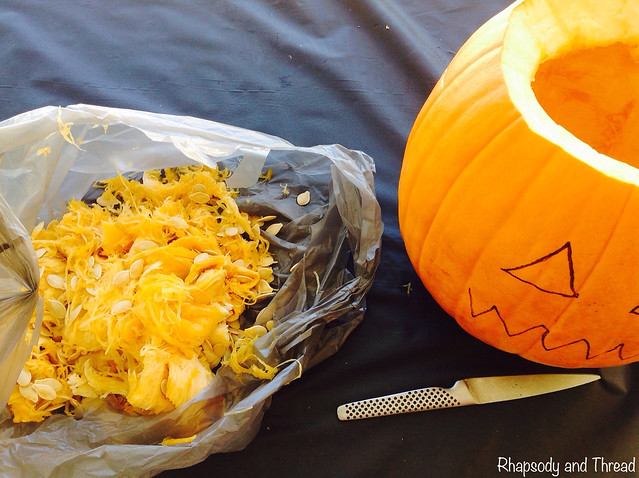
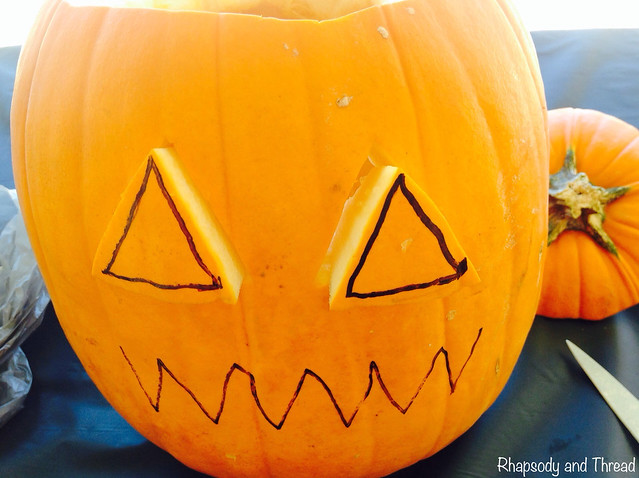
STEP TWO: Draw your template on the pumpkin
I have seen some truly amazing designs on Halloween pumpkins using all sorts of different tools, including drills! Just check out this page on Martha Stewart's Halloween page if you want to learn more about "pumpkin carving tools" and there are some great templates on there too. Some other great sites include The Pumpkin Pile and Pumpkin Masters.
But if you're like me and you just want something easy, fun and won't take hours? Then just stick with me and I'll show you how to carve a funky pumpkin in just 15 minutes!
So, the first thing you want to do is work out which 'facing' of the pumpkin you want to carve. Find the flattest (and nicest looking) angle and work out where the centre point is. Above that, draw the triangle eyes. And under that, draw the squiggle mouth. Don't be concerned about your lines because you'll be cutting around them - and with this in mind make sure you don't draw your face too big. You'll see what I mean as we get further on.

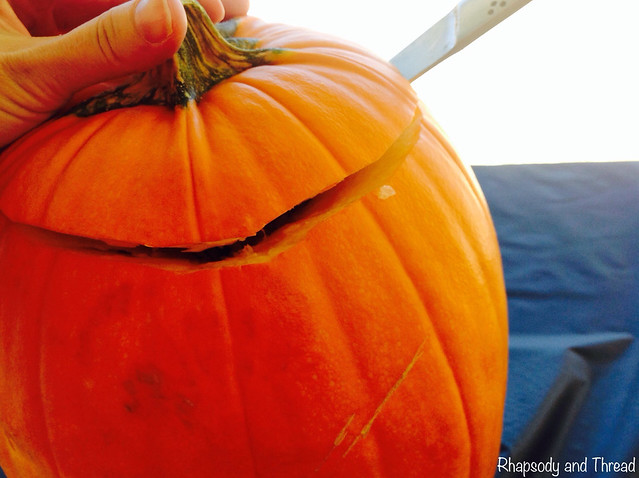
STEP THREE: Cut your pumpkins 'hat' off
I call the top of the pumpkin the 'hat' because you put it back on once you've finished carving. It's like a hat you can take on and off to light your candle/blow it out etc. So with that in mind, it's crucial that you cut the hat on an angle. Check out my photos if you're not sure what I mean.
Remember to BE CAREFUL during this step, to always cut in the direction AWAY from your body and NOT towards any fingers or arms!
I find it useful to kind of use a stabbing motion (sounds gruesome I know!!) and slowly make my way around the pumpkin. This also helps to keep the shape of the hat because trying to slide the knife around - if the pumpkin is tough - can lead to overcutting in the wrong direction. Just take it slow.
So, cut all the way around, making sure you stay at the same height, until you meet back at the starting point. ** It might be useful, if you've never done this before, to start at the back of the pumpkin because joining the cuts can sometimes look a bit ugly!
You might need to go back around with the knife to loosen the hat, I found that the top of my pumpkin was quite thick, as you can see from the pictures, and I just needed to carve through a bit deeper the second time.
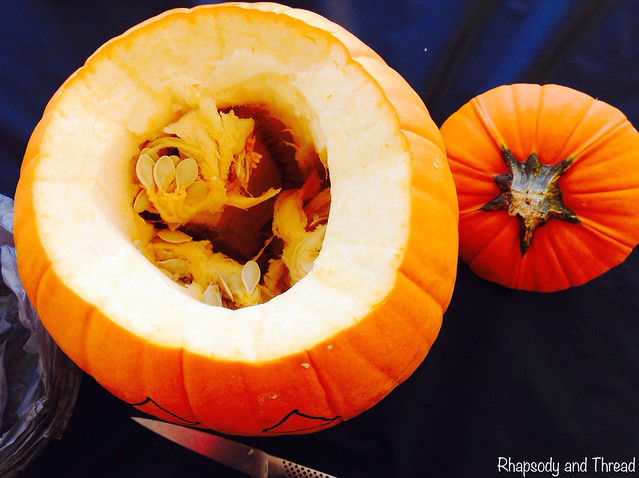
Gently pull the hat off.
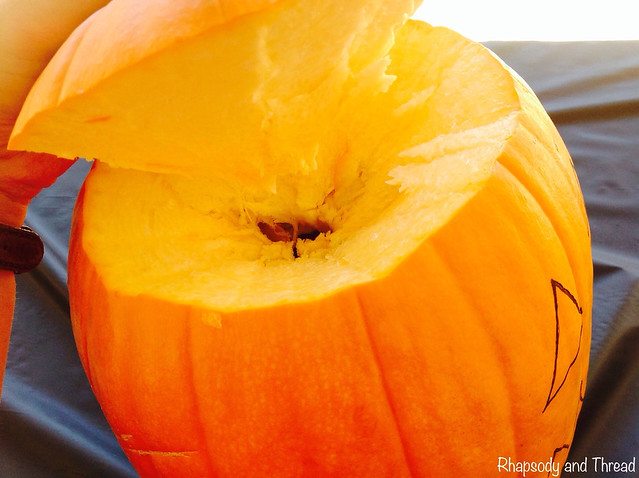
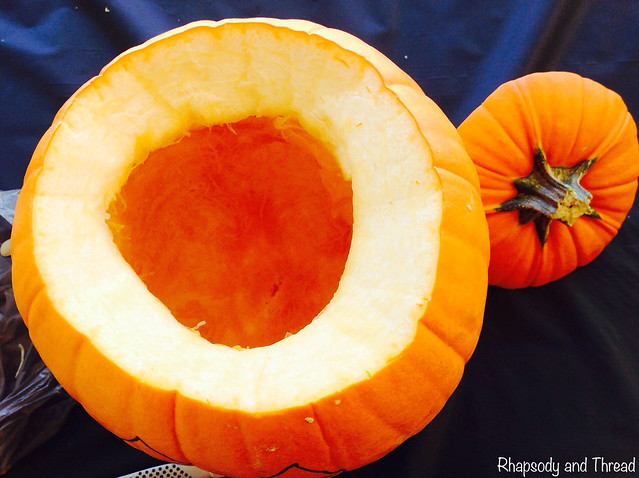
And if you've still got a lot of the shell visible like I do, just cut a hole in the middle so that you can clean out the pumpkin seeds.
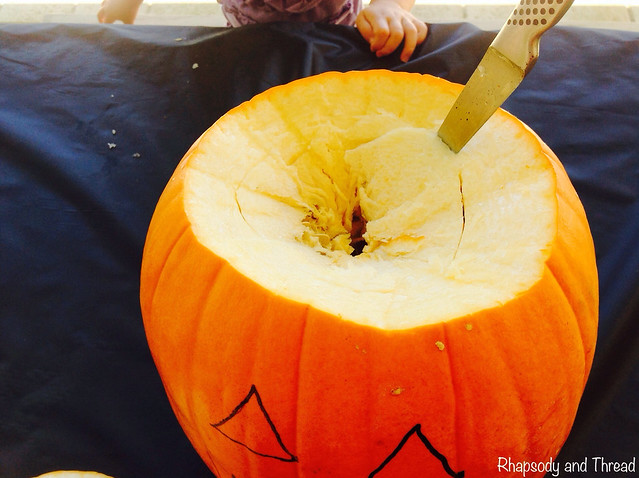
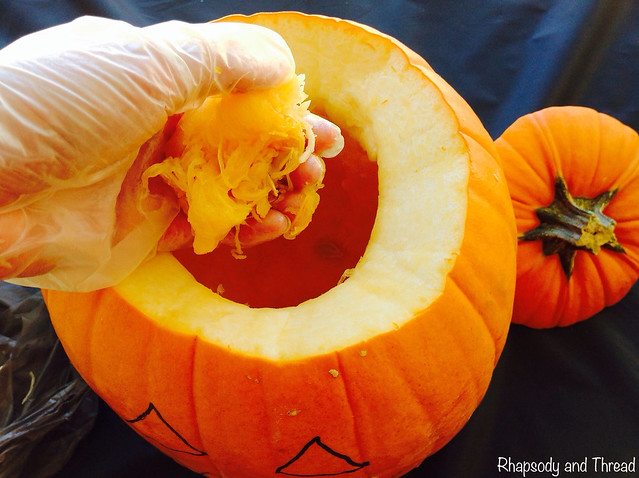
STEP FOUR: CLEAN OUT THE PUMPKIN
This is the slimy step! I used gloves and dug everything out by hand. You could use a spoon if you want - or better yet, get the kids to do it!!!! Mine aren't old enough to clean out without either eating it or smearing it everywhere, so I got it done quicker myself. But what a great way to involve the kids as it doesn't any cutting!
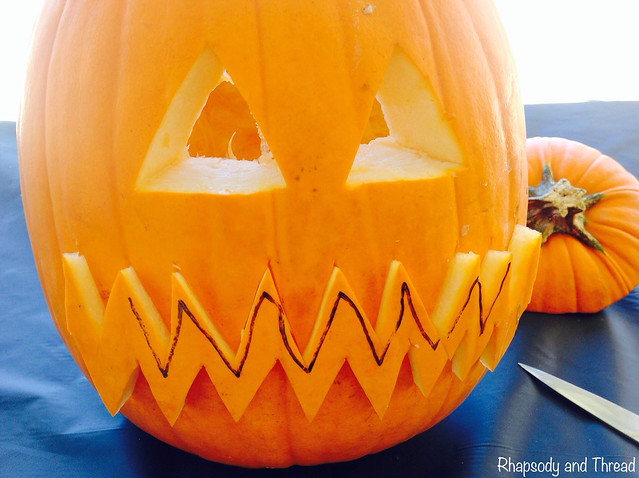
STEP FIVE: Carve out the face
Start with the eyes and cut around the outside of your template lines, like this:
Then cut out the mouth. I started with the top row, then cut out the bottom row, and then joined up the ends.
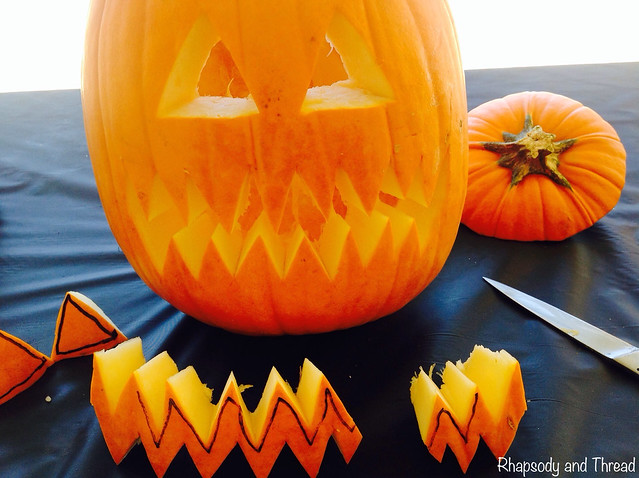
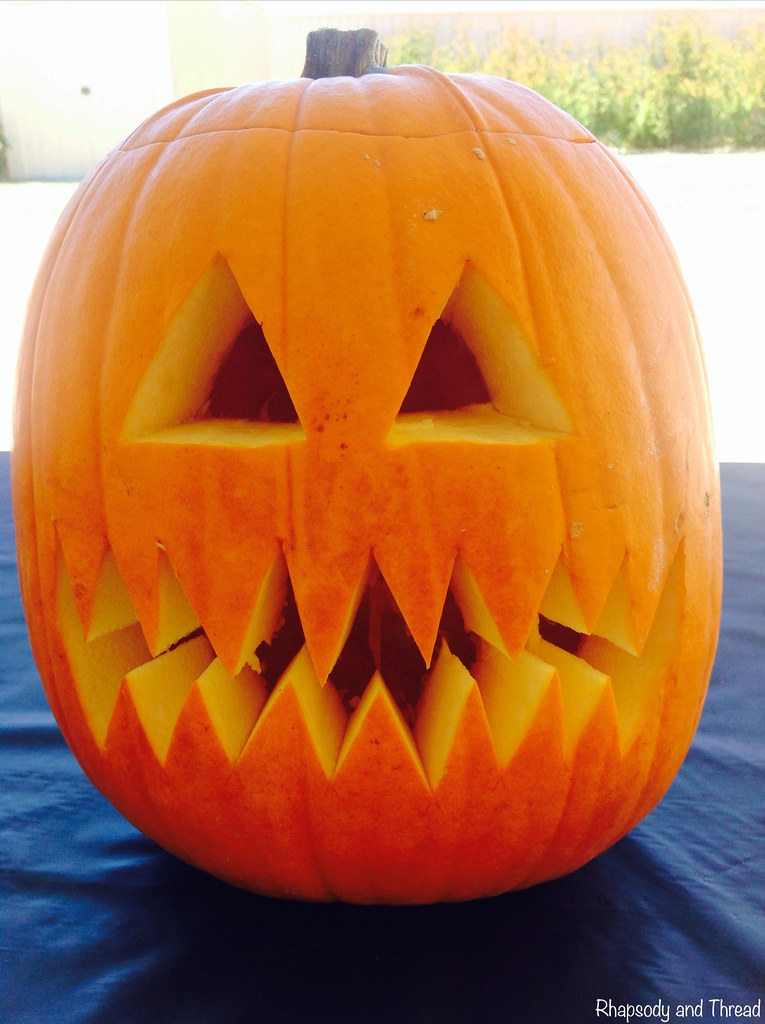
All done!
Now, all that's left to do is find a tealight candle to sit inside, pop the hat back on and wait until dark to watch your sweet little pumpkin turn into a scary orange monster!
Happy carving everyone!!


No comments:
Post a Comment